
The L-sit is a foundational exercise that demands precision and control, requiring the practitioner to maintain an upright torso while lowering the hips towards the ground until they form a 90-degree angle with the thighs. Achieving a perfect L-sit involves not only strength but also technique, flexibility, and mental focus. To master this skill, one must adopt a holistic approach that integrates physical preparation with strategic mindset adjustments.
A useful mental model for understanding the L-sit is to visualize the body as a hinge. The hips act as the pivot point, while the spine serves as the rigid structure that maintains upright posture. This hinge analogy emphasizes the importance of maintaining a neutral spine throughout the exercise, avoiding excessive arching or rounding that can compromise stability and form. By picturing the body as a hinge, practitioners can better comprehend the necessity of engaging the core muscles to stabilize the torso and prevent it from tilting forward or backward.
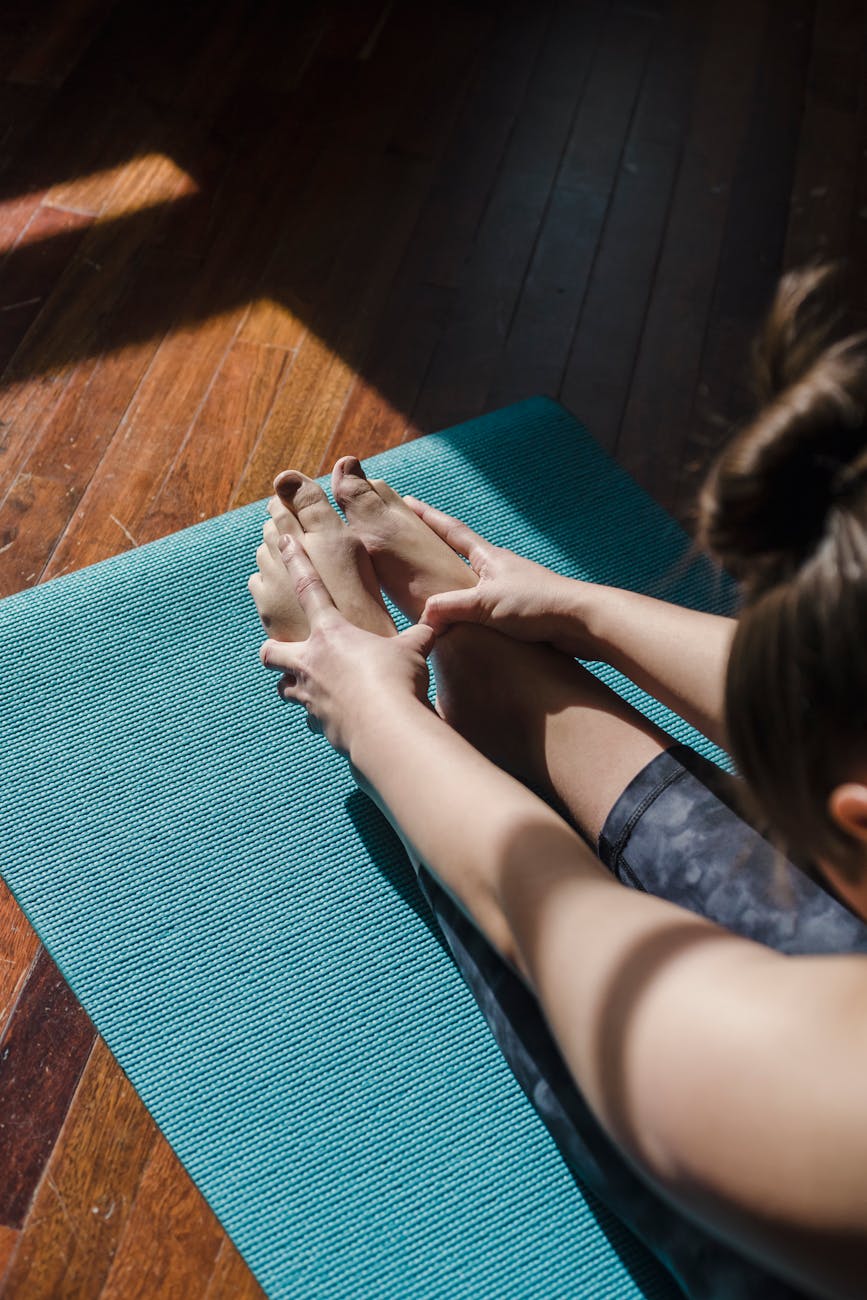
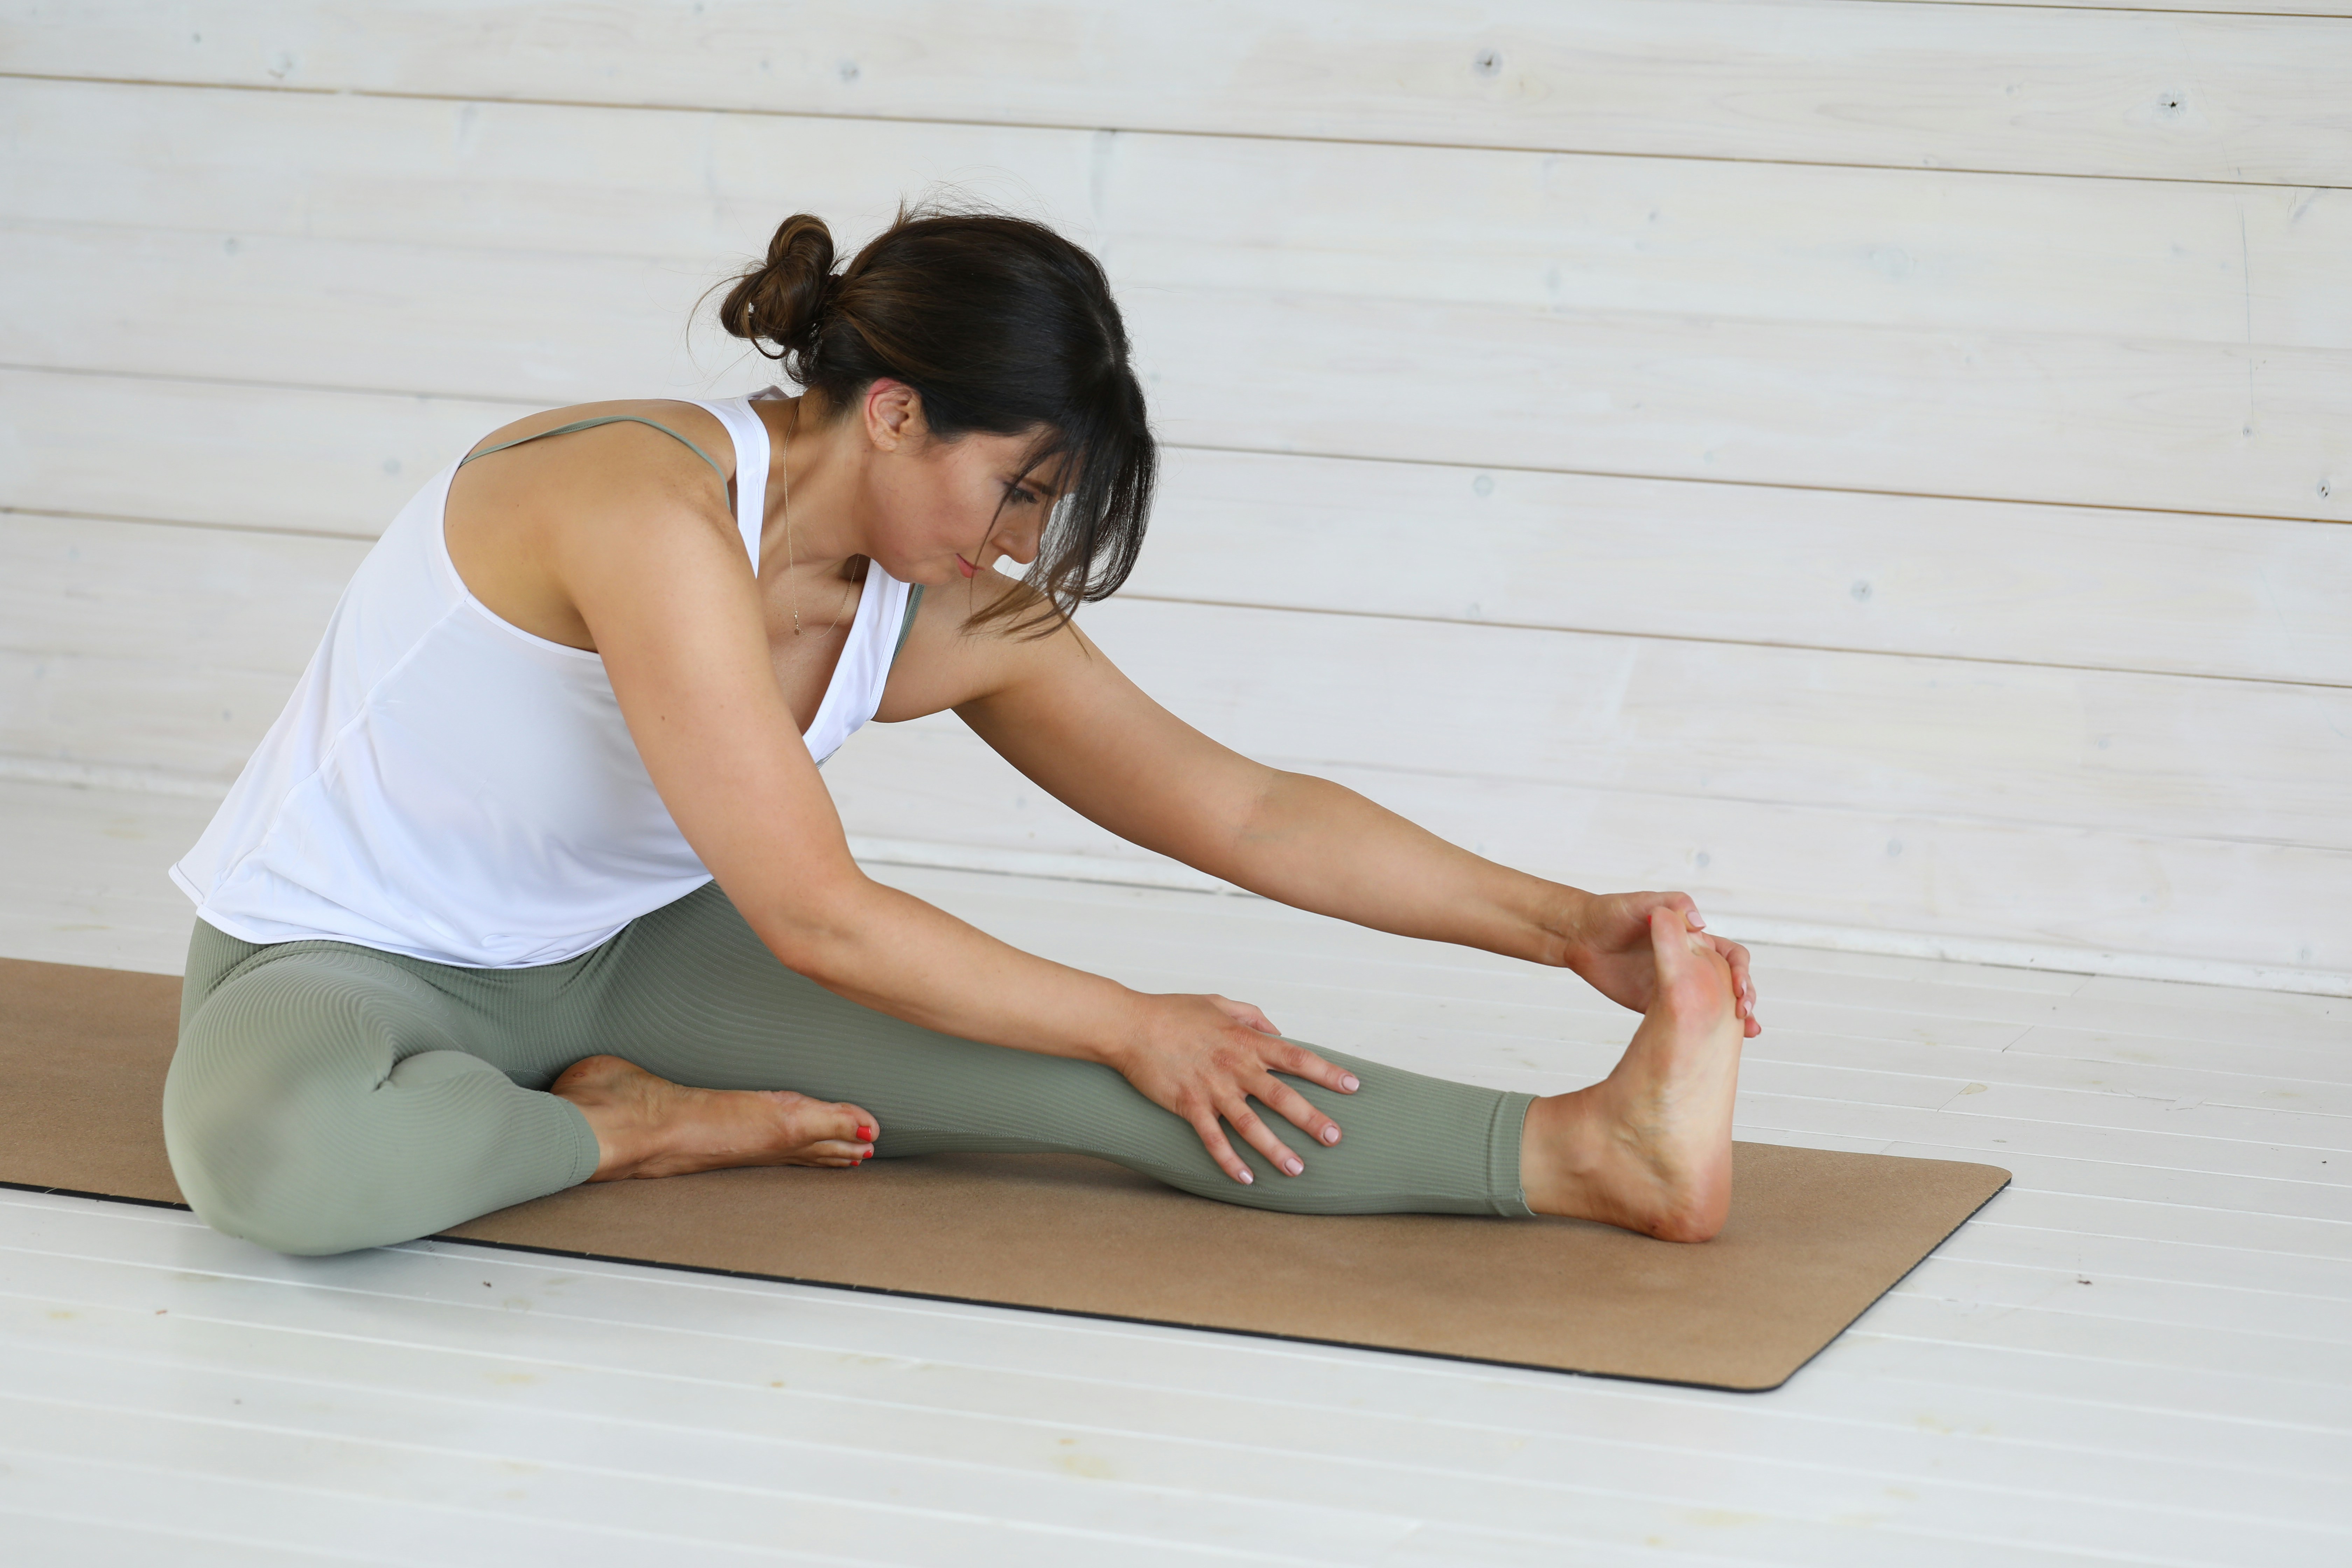
Another crucial aspect of achieving a perfect L-sit is the role of flexibility, particularly in the hips and hamstrings. The L-sit demands a significant range of motion that many beginners may not initially possess. To overcome this limitation, incorporating dynamic stretches and mobility exercises into your routine can enhance flexibility over time. Focus on hip flexor stretches, such as pigeon pose or walking lunges, to gradually increase the range of motion in the hips. Similarly, incorporating hamstring stretches like downward dog or seated forward fold can alleviate tension in the back of the thighs, allowing for a deeper L-sit position.
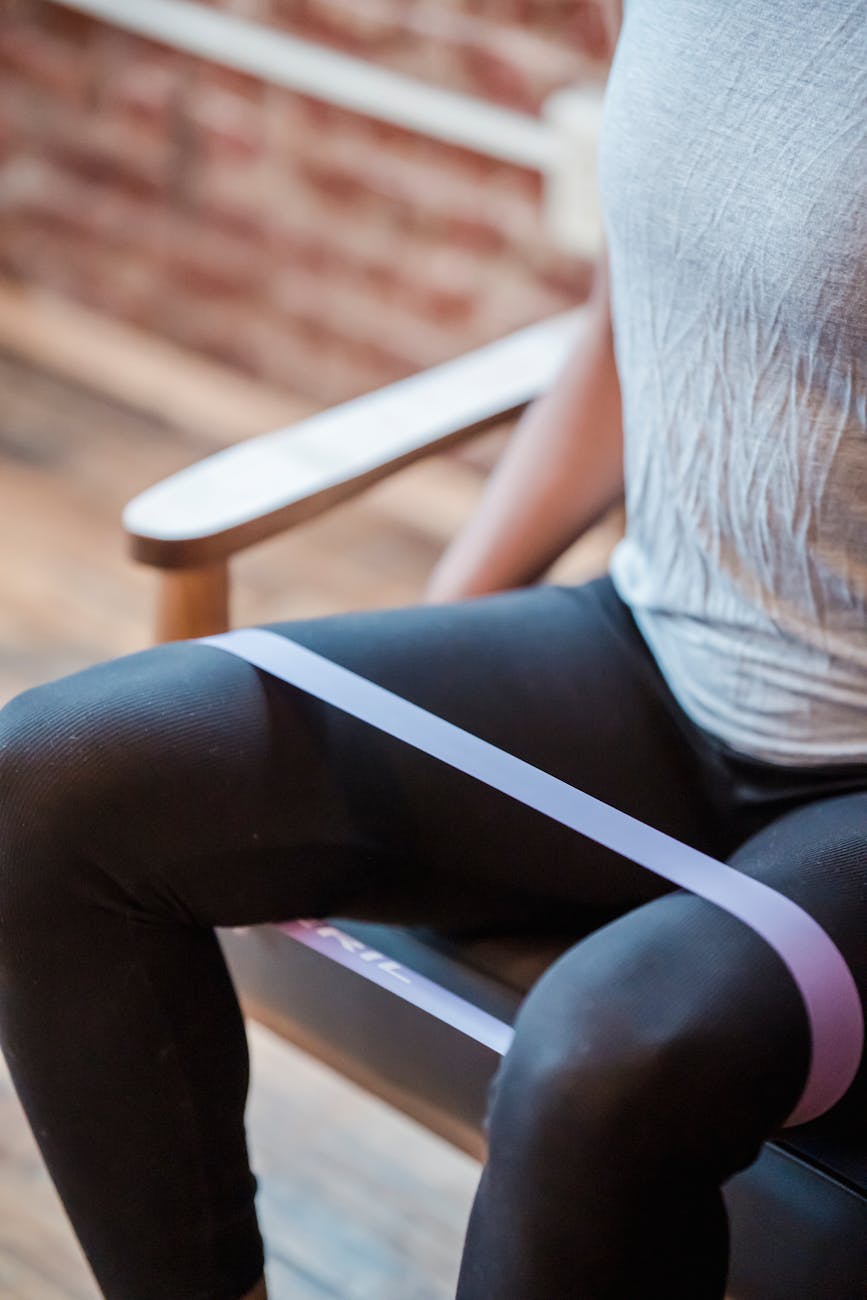
Progression is key when striving for a perfect L-sit. Beginners should start with shorter holds and gradually increase the duration as they build confidence and strength. Utilizing resistance bands or weighted vests can provide additional challenges to accelerate progress. It is also beneficial to practice in front of a mirror to self-assess form and make necessary adjustments in real-time. Pay close attention to foot placement, ensuring they are shoulder-width apart to maintain balance and prevent the knees from caving inward.
Mental focus is often underrated yet indispensable for executing the L-sit correctly. Cultivating a calm and steady mindset can help practitioners maintain control during the exercise, preventing premature fatigue or loss of form. Breathing techniques, such as deep inhalations and exhalations, can promote relaxation and enhance focus. By combining controlled breathing with visualization of the hinge mechanism, individuals can better manage the physical and mental demands of the L-sit.

Perfect Ring L-Sit Technique

The ring L-sit is a foundational exercise that demands precise technique and control to maximize benefits while minimizing the risk of injury. To achieve perfect form, it is essential to focus on several key aspects that will guide your progression from beginners to advanced levels. Begin by setting up your workspace with a sturdy ring or bar, ensuring it is at the appropriate height for your body proportions. Your grip should be slightly wider than shoulder-width apart, palms facing forward to engage the lats effectively.
As you initiate the movement, maintain a straight line from head to heels, engaging the core muscles to prevent any sagging or arching of the back. The hip hinge is crucial here; it involves tilting the pelvis slightly forward while keeping the chest elevated. This hinge allows for a deeper stretch in the hamstrings and glutes without compromising spinal alignment. Breath control is vital during the L-sit; exhale as you descend into the position and inhale as you return to the starting point, using your diaphragm to stabilize the core.
For beginners, it is common to struggle with maintaining form for more than a few seconds. To overcome this, incorporate static holds at various points in your practice, such as halfway down the range of motion or in a partial L-sit. This not only builds endurance but also strengthens the muscle groups responsible for stabilizing the position. As you progress, consider adding weights to challenge your strength further and enhance muscle development.
Incorporating mobility exercises into your routine will significantly improve your ability to achieve and maintain the perfect L-sit technique. Dynamic stretches targeting the hips, shoulders, and hamstrings can increase flexibility, allowing for a more comfortable and efficient movement pattern. Additionally, practicing with a spotter or using mirrors can provide valuable feedback on your form, helping you identify and correct any mistakes in real-time.
Advanced practitioners may focus on increasing the duration of their holds or attempting variations such as the one-leg L-sit to further challenge balance and strength. Regardless of your skill level, consistency is key; dedicating specific days each week to L-sit practice will facilitate noticeable progress over time. Remember to listen to your body and adjust your approach if you experience discomfort or fatigue, ensuring that proper recovery and rest are part of your training regimen.
L-sit Tutorial for Beginners
The L-sit, an advanced bodyweight exercise, is a staple in calisthenics, gymnastics, and functional training. This progression from traditional sit-ups offers numerous benefits, including improved core strength, better posture, and even a connection to interdisciplinary pursuits such as dance and martial arts. In this tutorial, we will delve into the intricacies of mastering the L-sit for beginners.
To initiate an L-sit, find a sturdy parallel bar or any other elevated support that allows your arms to be shoulder-width apart while hanging with a slight bend in the elbows. Extend your legs out in front of you, keeping them straight and together. Engage your core muscles by drawing your belly button towards your spine and maintain a neutral spine alignment. This is your starting position.
Your primary focus should be on contracting your abdominal muscles to lift your legs off the ground, bringing them parallel to it while maintaining the L-shape with your body. Keep in mind that this is a progression exercise, meaning you may not be able to execute a full L-sit right away. Instead, aim for holding the position for brief periods of time and gradually increasing your duration as your core strength improves.
It’s important to note that proper form is crucial when attempting an L-sit. The key elements include keeping your shoulders engaged and down, maintaining a straight line from your head to your heels, and ensuring your core remains braced throughout the exercise. If you experience any strain on your lower back or discomfort in your wrists, it may be necessary to adjust your form or seek guidance from a qualified instructor.
How to Do a Perfect Wall Sit
The development of improve in the context of exercises and physical training has been a gradual process rooted in scientific inquiry, practical experience, and technological advancement. Initially, physical education and fitness practices were largely based on intuitive approaches, relying on anecdotal evidence rather than empirical data to guide training methods. Over time, this led to widespread misunderstandings regarding proper form, intensity, and recovery, often resulting in injuries or suboptimal results.
In more recent decades, technological advancements have further refined training techniques. Wearable devices like heart rate monitors and fitness trackers provide real-time feedback on physiological responses during exercise, allowing individuals to adjust their intensity or duration accordingly. Advanced imaging technologies enable detailed analysis of muscle function and joint mechanics, offering insights that were previously unavailable. These tools help improve precision in technique execution, reducing the risk of injury while maximizing training benefits.
The evolution of improve also includes greater attention to recovery protocols and nutritional support. Understanding how nutrition affects muscle repair and energy levels has led to the development of evidence-based dietary strategies tailored to different training phases. Similarly, advancements in sleep science and stress management techniques have become integral components of comprehensive fitness programs aimed at optimizing long-term health and performance outcomes.


How to Do a Perfect Ring L-Sit
Achieving the perfect ring L-sit demands excellent core strength, strong shoulders and triceps, plus solid technique. The foundational principle centers on maintaining a straight line from the shoulders to the knees, with the rings positioned directly below the hips. This often proves more challenging than it appears due to the inherent mobility of the rings requiring constant micro-adjustments for stability. A good visual cue to check form is to imagine a lazy “L” being traced by the legs relative to the upper body; too much bend in the legs suggests weak core engagement or a need to push the hips forward slightly.
Diagrammatically, this straight line can be represented with a dotted line extending from the shoulders down through the knees – a common way to show proper alignment in anatomy illustrations. Sometimes, a simple arrow indicates the direction of pull for leg drive, originating at the hip and pointing towards the knees. The “L” itself is frequently highlighted using a solid line, which helps differentiate between the upper body’s generally upright posture and the angled legs. Bodyweight distribution can be visualized with shaded areas; larger shading on the hips often indicates good hip drive, while smaller shading around the shoulders suggests sufficient core engagement to keep them stable.
Progression typically starts with the ring hold, where a solid grip is established and the body is held up in a straight line, similar to the top of an L-sit but with arms relatively straight. This builds general strength and good scapular stability. Next comes the “knees bent” variation – a useful bridge between the Ring Hold and the full L-Sit, allowing for greater comfort as the core adapts to the slightly more demanding positioning. Here, the knees are comfortably bent, often around 90 degrees, ensuring the legs remain relatively easy to lift into the L-sit position.
Another excellent progression involves using a slight leanback to assist with leg lift; this reduces the load on the core and allows for more time under tension. A handy visual cue here is to think about keeping the chest “open” toward the ceiling, which encourages that slight back lean. As strength increases, a good next step is incorporating a slightly looser grip on the rings allowing for greater range of motion and improved shoulder stability. Scapular retraction – pulling the shoulder blades together – helps with this too, creating a nice solid base.
How to Improve Your L-Sit Hold Time

Improving your L-sit hold time requires a combination of strength, flexibility, and technique. The L-sit is a challenging exercise that demands core stability, hip mobility, and lower body strength. To enhance your endurance in this position, it is essential to focus on progressively building these qualities while maintaining proper form throughout the movement.
Consider the importance of core engagement. A strong and stable core is crucial for maintaining the L-sit position. Engage your transverse abdominis muscle by drawing your navel towards your spine, and maintain this contraction throughout the hold. This will help prevent your lower back from arching or collapsing, which can lead to instability and early fatigue.
Flexibility in the hips and hamstrings also plays a significant role in L-sit performance. Limited hip mobility can cause you to lean forward or backward, compromising the alignment of your body and reducing the effectiveness of the exercise. Incorporate dynamic stretches and mobility exercises into your routine to improve hip flexibility. Practicing seated forward folds and pigeon poses can help increase range of motion in the hips, allowing for a more stable and comfortable L-sit position.
External conditions such as surface stability and environmental factors can influence your technique. Performing the L-sit on an uneven or slippery surface may compromise balance and alignment, making it more challenging to maintain proper form. Opt for a flat, firm surface that provides consistent support. Additionally, temperature and humidity levels can affect muscle performance; cooler environments might require more warm-up and flexibility work to prevent strain or injury.
Incorporating breath control into your L-sit practice can also aid in maintaining stability and endurance. Inhale deeply to expand your chest and engage your core, then exhale slowly as you press through your heels to straighten your legs. Coordinating breath with movement can help sustain the effort required for an extended hold.
Prioritize rest and recovery to allow muscles to adapt and grow stronger. Engage in foam rolling, stretching, and mobility work to alleviate muscle tension and promote flexibility. Listening to your body and adjusting your training volume accordingly will prevent overtraining and ensure consistent progression. By systematically addressing strength, flexibility, technique, and external conditions, you can effectively improve your L-sit hold time and unlock greater performance in this challenging exercise.
L-sit Drill Variations

The L-sit drill is a foundational exercise for developing core strength and improving upper body and grip power. This exercise involves hanging from a pull-up bar or parallel bars with legs straight out in front, holding the position with a slight bend at the hips and knees. As beginners progress, they may find various drill variations to add complexity and challenge their abilities further.
One common variation is the advanced L-sit, where the legs are held together and extended straight out without bending at the hips or knees. This requires a higher level of core strength and control. Another variation is the tuck L-sit, which involves bending the knees and bringing them in towards the chest, making it an easier progression for beginners as they work on developing the necessary core strength to progress to the full L-sit position.
Another drill variation is the V-sit or hollow body hold, which targets the lower abs and hip flexors. This exercise involves lifting the legs off the ground while keeping the back flat and shoulders engaged. The body forms a “V” shape, with the legs and torso forming the two points of the V. To make this exercise more challenging, one can add a weighted vest or hold a medicine ball between the feet.
Another progression for the L-sit drill is the windshield wiper variation, which targets the obliques and hip flexors. This involves swinging the legs from side to side while holding the L-sit position, creating a “wiping” motion similar to that of a car’s windshield wipers. This exercise can be performed slowly with control for greater engagement or quickly for added cardio benefit.
Another progression is the L-sit leg raise, where one raises their legs up towards the ceiling while holding the L-sit position. This targets the lower abs and hip flexors, adding an extra layer of challenge to the core workout. The number of repetitions can be increased as strength and control improve.
How to Do a Perfect L-Sit
The L-sit is a challenging exercise that requires strength, flexibility, and precise technique. To achieve a perfect L-sit, it is essential to understand the biomechanics involved and how external conditions can influence stability during the movement. The primary muscles engaged in an L-sit are the hip flexors, quadriceps, glutes, and core muscles. Flexibility in the hips and hamstrings plays a crucial role in executing this exercise effectively.
Begin by standing with your feet shoulder-width apart, toes pointing forward. Engage your core and maintain a neutral spine to ensure proper alignment throughout the movement. Slowly hinge forward at the hips while keeping your knees slightly bent to initiate the descent into the L-sit position. As you lower yourself, extend your legs out in front of you, maintaining a 90-degree angle between your upper and lower body. This angle is critical for stability and prevents excessive strain on the lower back.
External conditions such as surface texture, environmental temperature, and equipment availability can significantly impact the stability of your L-sit tutorial. A smooth, non-slip surface provides better traction and control, allowing for a more controlled descent and ascent. Conversely, slippery floors or mats may compromise balance and increase the risk of injury. Temperature also affects muscle performance; warmer environments can enhance flexibility and reduce the risk of strains, while cold temperatures may stiffen muscles and limit range of motion.
Flexibility training is essential for advancing in L-sit progression. Incorporate stretches targeting the hip flexors, hamstrings, and lower back into your routine to increase mobility and reduce tension in these areas. Dynamic warm-ups, such as leg swings and hip circles, prepare the muscles for the demands of the exercise while preventing potential injuries.
Wall Sit Form Check
The wall sit, a foundational exercise targeting the quadriceps and lower body strength, demands precise form execution to maximize benefits while minimizing injury risks. Proper technique begins with selecting an appropriate surface for support; an even, flat wall is ideal to ensure stability. The positioning of the back against the wall is critical, as it influences spinal alignment and postural control. Ensuring that the entire spine, from the lower back to the upper thoracic region, maintains contact with the wall promotes optimal engagement of the core muscles, which stabilize the pelvis and hips during the exercise. The feet should be placed shoulder-width apart, with heels firmly planted on the ground to prevent anterior tilting of the pelvis, a common issue in beginners that compromises form integrity.
Proper breathing technique is often overlooked yet vital for sustaining form during wall sits. Inhaling during the descent and exhaling upon returning to the standing position aids in maintaining core stability and prevents excessive intra-abdominal pressure, which can lead to spinal compression and poor posture. The use of props, such as a cushioned support under the knees or lumbar region, may be beneficial for individuals with joint sensitivity or limited flexibility, though it should not be relied upon excessively as it alters the natural biomechanics of the exercise.
Environmental factors such as lighting and noise levels in a gym setting may also subtly impact concentration and focus, which are essential for maintaining correct form. A well-lit, quiet environment minimizes distractions, allowing individuals to focus on their technique and breath control. Similarly, the surface texture of the wall or floor can influence grip and stability; a slightly textured wall provides better traction than a smooth one, potentially reducing the risk of slipping during deeper squats.
How to Get a Perfect L-Sit
Beginners attempting L-sits often struggle because they focus solely on leg strength without addressing core activation. This omission creates an imbalance between proximal (core) and distal (leg) muscular systems, resulting in unstable lifts that require excessive force generation from the arms or shoulders to maintain position. The solution lies in isolating and strengthening the core through targeted exercises like hollow holds, planks with leg variations, and anti-rotation movements. These practices develop the neuromuscular coordination necessary for precise control during L-sits by establishing neural pathways between the brain and stabilizing muscles.
Advanced practitioners must continually refine their core activation patterns to progress toward advanced L-sit variations. This involves increasing time under tension through progressive overloading techniques, such as holding partial positions longer or adding dynamic elements like leg swings that challenge stability thresholds. Monitoring feedback mechanisms, such as visual inspection of pelvic position via mirrors or palpation of spinal alignment during practice, provides immediate corrections to maintain proper form.
The core’s role extends beyond static stabilization; it dynamically adapts to external forces during L-sit transitions. When lowering from the top position, the core must contract eccentrically to resist gravity while maintaining torso rigidness. This requires synchronized activation of both superficial and deep stabilizing muscles. Deficits in this adaptive capacity often manifest as uncontrolled limb movement or excessive swaying during descent, compromising safety and form integrity.
Injury prevention hinges on maintaining optimal core stiffness throughout the lift. A weakened system allows lumbar spine hyperflexion or overextension, creating risk zones for disc compression or muscle strain. Progressive strengthening protocols should emphasize compound movements that mimic L-sit mechanics, such as weighted hollow body holds or medicine ball slams with rotational components. These exercises simultaneously develop strength and neuromuscular efficiency while minimizing injury potential through controlled stress application.
Long-term mastery of the L-sit demands consistent focus on core engagement patterns rather than just limb force production. Practitioners should visualize their torso as an immovable column connecting shoulder to hips, with all muscle groups acting in unison. This mental model reinforces proper alignment habits that become instinctive through repetition. Monitoring progress via video analysis or proprioceptive feedback systems provides objective data for adjusting training regimens and maintaining technical precision.
The core’s critical role in L-sit performance underscores the principle of functional movement optimization. By prioritizing neuromuscular control over sheer strength, practitioners develop a resilient stabilizing system capable of handling variable loads encountered during progression toward advanced variations like straddle or handstand L-sits. This holistic approach ensures both technical proficiency and injury resilience throughout the training continuum.
Common L-Sit Mistakes and how to Fix Them
The L-sit is a challenging exercise that requires strength, flexibility, and proper technique. Common mistakes in performing the L-sit can hinder progress and lead to injury if not corrected. Understanding these errors and their solutions is crucial for effective improvement.
One prevalent mistake is the collapse of the hips during the hold. This occurs when the hips lose contact with the ground, causing the body to tilt forward. To rectify this, focus on engaging the glutes and maintaining a straight line from head to heels. Practicing with a spotter or using a mirror can help ensure proper alignment.
Another issue is overarching the back, which places excessive strain on the lower spine. This mistake often arises from weak core muscles or insufficient hip flexibility. Strengthening the core through exercises like planks and incorporating hip mobility drills can alleviate this problem. Gradual progression in the L-sit, starting with shorter holds and supported variations, also allows the body to adapt without undue stress.
Inadequate grip strength is another common pitfall, particularly for those relying solely on hand strength to maintain the position. To address this, incorporating finger exercises or using gymnastic rings can enhance grip endurance. For beginners, starting with a progression that involves holding the L-sit with knees bent and gradually lowering to straight legs can build strength without overexertion.
Poor body positioning, such as allowing the shoulders to drop or the chest to collapse, further impedes progress. Maintaining a neutral spine and engaging the scapulae by retracting and downwardly rotating them ensures optimal posture. Visualization techniques or mirrored practice can aid in developing this awareness.
Rushing the progression without adequate preparation is a frequent error. Attempting advanced L-sit variations before building foundational strength and flexibility often leads to failure or injury. A structured approach, focusing on incremental improvements and incorporating rest periods, allows for sustainable development. Regular assessment of form and adjustments based on feedback are essential components of effective training.
By addressing these common mistakes through targeted exercises, proper technique, and strategic progression, individuals can overcome obstacles in their L-sit practice and achieve greater proficiency over time.
Ring L-Sit Progression Exercises
The Ring L-Sit Progression Exercises are designed to gradually build strength and flexibility required for executing a perfect ring L-sit. This progression is essential for beginners as it minimizes the risk of injury while effectively targeting the muscles involved in the movement. The core muscles, including the rectus abdominis, transverse abdominis, obliques, erector spinae, and hip flexors, are primary movers in an L-sit. Additionally, the shoulder, arm, and finger muscles play crucial roles in maintaining stability and balance during the exercise.
To initiate the progression, it is vital to establish a strong foundation through core strengthening exercises. Begin with planks, which engage the entire core and improve postural alignment. Hold the position for 15-30 seconds, gradually increasing the duration as strength improves. Side planks are also beneficial, as they target the oblique muscles and enhance rotational stability, both of which are essential for an L-sit.
Incorporate bodyweight exercises that mimic the movement patterns of the L-sit. Hanging leg raises are an effective starting point, as they simulate the hip flexion required in the final position. Use a low bar or rings to perform these exercises, focusing on controlled movements and proper technique. Ensure that the back remains straight, and the legs are raised to a 90-degree angle without bouncing or swinging the body.
As comfort and control increase, progress to more advanced variations such as Russian twists and sitting exercises using resistance bands or weights. These exercises will further develop the rotational strength and stability needed for an L-sit. It is crucial to maintain proper form throughout these movements to prevent strain on the lower back and shoulders.
Incorporating flexibility training is equally important in the progression. Dynamic stretching routines, including hip flexor stretches and spinal mobilizations, should be performed regularly to improve range of motion. Static stretching can also be beneficial but should be done judiciously to avoid overstretching and potential injury.
Once comfortable with these foundational exercises, progress to partial L-sits using rings or a low bar. Begin by hanging from the equipment and slowly lowering yourself until your body forms an L-shape. Focus on maintaining a straight back and engaging the core muscles throughout the movement. Initially, aim for short holds of 5-10 seconds, gradually increasing duration as strength and endurance improve.
Consistency and patience are key components of the progression. It is essential to listen to the body and adjust the intensity and frequency of exercises according to individual capabilities and recovery needs. Regularly reassessing form and making necessary adjustments will ensure safe and effective progress toward achieving a mastery of the ring L-sit.
How to Do a Perfect Renegade Row

The renegade row is a full-body exercise that targets the back, core, and arms. It’s a challenging movement that requires proper form to maximize its benefits and prevent injury. In this tutorial, we will guide you through the steps of performing a perfect renegade row.
Begin in a high plank position with your hands shoulder-width apart and directly under your shoulders. Your body should form a straight line from head to heels. Engage your core and glutes to maintain stability. Keep your feet hip-width apart and point your toes slightly outward.
Shift your weight onto one hand, bending that elbow and bringing it close to your ribcage. As you do this, lift your opposite foot off the ground, keeping your leg extended behind you. Your body should form a T shape with your working arm and elevated leg.
Perform a row by pulling your elbow back towards your hip, keeping your core tight and your hips square to the ground. Pause at the top of the movement, then return to the starting position. Repeat this process on the other side, shifting your weight onto the other hand and lifting the opposite foot.
The key to a perfect renegade row is maintaining proper form throughout the entire movement. Keep your hips square to the ground and avoid twisting or rotating at the spine. Engage your core to prevent sagging in the middle of your body. Use a controlled tempo, focusing on quality over quantity.
An important factor that affects tutorial performance is having adequate space to move freely. Make sure you have enough room to complete each repetition without hitting furniture or tripping over obstacles. Additionally, wearing grippy shoes or using workout gloves can help improve your grip and prevent slipping during the exercise.
